Pages

Showing posts with label Crayon. Show all posts

11.27.2012

2nd Grade - Mock Batik

This is the project I did at the very beginning of the school year, with second grade.  As I have posted before I like to do name projects as our first projects, because it refreshes my memory and they can all write their own names - thus everyone succeeds!! Hooray!

First day we practice bubble letters - both normal bubble letters then FUNKY bubble letters.  Funky bubble letters are the same as normal bubble letters, only you use fun lines like zig-zag, castle top, curly, etc.

The next class students got a final paper in which they wrote their name - normal, funky, or a combination.  Then they traced their name with a black oil pastel and added 5 lines that started on one edge and went off a different edge.  (A few students needed to add a few more lines to break up the space).

Next, I explained what a batik was (I tried to find a good video, but found nothing - if you have one let me know!).  I told them that other countries mainly used batik to decorate fabric.  The artist/worker would take hot wax and draw pictures onto a piece of fabric, then dye the fabric a color -- wherever there was the wax no dye would stain.  This process would continue till everything was dyed as desired.  In the end the wax was washed off with hot water and a beautiful piece of fabric was ready to be used.  I showed students some batik cloth.

I explained that we wouldn't be adding hot wax to fabric, but instead we would use colored wax to color our pictures.  I asked students if they knew what crayons were made out of - WAX!  I instructed them to color their pictures by pressing SUPER HARD and coloring each section a different color.  (They could repeat colors, just not next to each other.)

After their WHOLE pictured was colored, and I was pretty picky about having very little white space.  I had students crumple their papers into really SMALL balls 3 times - flattening it out each time.

Next, students took their wrinkled, but flattened paper to the sink where there was a cup with watered down temp paint (I did some classes with black - some with blue).  Students painted over their whole papers with the paint - then rinsed off the paint with a gentle stream of water.

What was left was nothing short of magic - their papers had beautiful colored wax, and the paint stuck to all the creases they made when they crumpled it.

Students oooo-ed and ahhhh-ed and showed their friends!

 I even had a student bring in a batik stamp from a trip they went on!


2.08.2011

Kindergarten Dancing People

I was thinking of a way to make drawing people more interesting for kindergarten students.  I always enjoy kindergarten people because there is such a range in abilities - some students need a challenge while others are still working on finding their bodies! 

I ran across a lesson using a book called "Giraffes Can't Dance" in which the students drew dancing giraffes - I modified this this idea for my lesson.

I gathered the students to read the book about Gerald the Giraffe.  As we read I ask them to explain how they know the animals are dancing!?  I always get a variety of answers but we always end up knowing they are dancing because it looks like they are moving - bent body parts.

After the book is over I explain that as a class they are going to play 'Freeze Dance'.  Many of them get very excited (I do as well).  The rules of freeze dance are easy: 1) Stay on feet at all times (kindergartners tend to like to break dance) 2) Stay behind own chair (cuts down on impacts) 3) In control at all times.  The students get one specific warning - if they get a second they have to sit down and just watch.

No one is forced to dance - though almost all students do or end up dancing by the end.  We also talk about, like in the book, that on one will be laughed at for how they dance!  I play all sorts of music for about 15-20 seconds each.  I then, pause the music and the students freeze -- looking at each others posses - lots of bent arms, legs, bodies!

After a handful of songs the students sit and take a breather and I draw three pictures on the board and label them 1, 2, 3.  The students then hold up their fingers accordingly to tell me which one is dancing - so they hold up one finger if the first one is dancing... ect.

Next, I pass out fairly large paper 11x18 and tell the kids to draw BIG!  We really focus on having bent arms and legs.  After they draw their person they are in charge of deciding where their person is dancing: on the moon, in the ocean, outside, inside.... then they outline with a Sharpie.

The next class period the students and I talk a lot about coloring IN not OVER their work.  Many of my kindergarteners get so excited that they color over their pictures instead of coloring them in.  We also talk about how they should pick out colors that make sense - no one has green, blue, purple, red, or orange skin!!!

When they are done coloring their people I let them fill in the background using texture plates.  The texture plates are like magic!

This is a project they can all succeed at and have a bit of fun.

1.06.2011

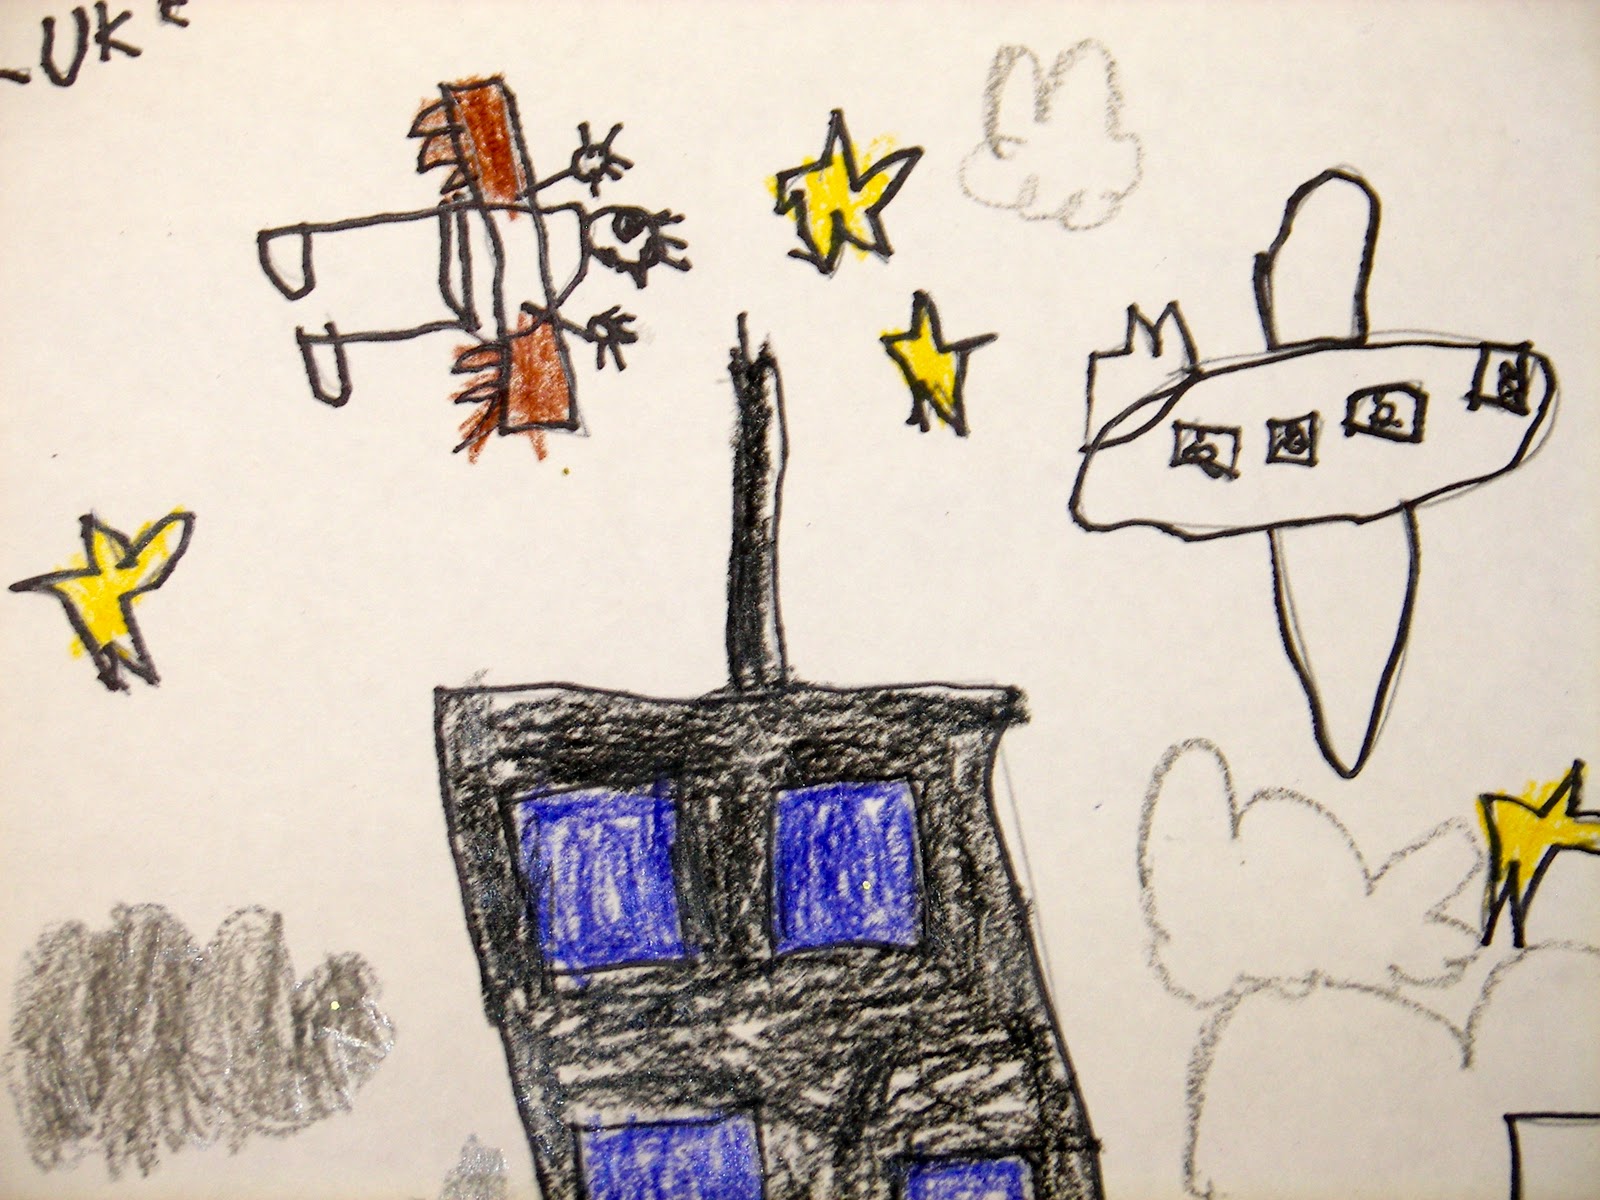
1st Grade Tooth Fairies

The learning target of this lesson is to introduce first graders to profile portraits.  I show a slide show containing only profiles and I ask the students what they notice about all the pictures - most of the time students will say they are all people, they only have one eye...etc.  Next, I pause the slide show and have the students help me observe the picture.  As we explore the picture I trace the profile onto the board.  When we are done I turn off the projector to have a profile left.  I then explain rest of the project.

The project expectations:
- The tooth fairy needs to be sideways along the top - flying
- The face should be a profile (one eye, side of nose, half mouth...etc)
- Tooth fairy needs to be bigger than my hand (they tend to draw small)
- Tooth fairy needs a way to fly! (we brainstorm these and the kids get really excited - cape, jet pack, balloons, wings (fly, dragon, fairy, butterfly....)
- Tooth fairy should be flying over something (houses, park, zoo, forest, mountains...)


Students learn/review:
- profile portrait
- creative choices
- problem solving


2.14.2010

4th Grade Value Projects

Students were struggling with the idea of value.  They had trouble remembering the difference between contrast and value, so we did a mini project to help concrete value.

Students Learned/Practiced:
- Composition
- Color choice
- Value
- compass and ruler usage

I cut long strips of paper and gave students compasses and rulers.  They were to draw circles that did not overlap and filled the space.  Next, they used rulers to further break up the space.  The students needed to be careful to not let their lines cross.

Next, I showed them how each section, between the straight lines, was a 'color'.  Then within that section each shape was a different version of that color.

A few students struggled with finding the sections and the shapes inside - but after some one on one instruction they were on their way!