The last few weeks have been packed with craziness - I was sick for a bit, field trips, National Testing for the upper grade levels - it's honestly been kind of a mess.
I halted all 3rd, 4th and 5th grade projects for the last two cycles due to MEAP tests. I realized that their brains were complete toast by the time they got to me and we needed to do some relaxing, other side of the brain thinking in art. My goal was to not only rest the one side of their brain, but to re-energize and almost reset their day.
My fourth graders were finishing up their collages from their visiting artist and while this is a 'simple' enough task - it wasn't the kind of way I wanted them to use their brains. Instead we worked on a value project where they needed to mix colors and paint - much more therapeutic.
 We started out by BRIEFLY looking at pictures of the moon at night. (*Normally I would make the observation part longer, but it is not what the kids needed this week. Also, the kids are observing the moon in science! Who knew!). We talked about what they saw - the colors, the sky... etc. Next, I showed them how to use a safety compass. (Honestly, best compasses EVER!). They drew concentric circles.
At this point some classes were done for the day because I only saw them for 20 minutes - other classes got a chance to get to the paint. I set out trays with white, black, blue, and purple. The students painted their moon white, the first ring was their sky color with white, then after that they added a little bit of black for each circle till it got darker and darker and darker.
 Students went from loud and squirrel-y to mellow and focused. I asked the group how their brains felt - many replied with a sigh and a 'much better'.
This lead me to realize that I could help out the grade level teachers as well as the kids. I sent out an e-mail to the teachers suggesting that they do a little bit of art after their testing. It wouldn't need to be much 10-20 minutes and it could be as easy as coloring a geometric coloring page. The rhythm of coloring/painting helps to calm and refocus the brain. I know that in college during finals I would put out a stack of coloring books and all my crayons in the common area. Almost everyday I would find the majority of my suit mates bent over coloring books after long bouts of studying or tests. They would exclaim how much better and more relaxed they felt.
After I sent out my e-mail offering to print some coloring pages - one of the 4th grade teachers e-mailed me back. She said that their writing assignment that day had to do with some characterization and instead of jumping right into the writing she had them spend some time drawing their character - she said the lesson went smoothly and the students produced a lot of information about their characters!
---------

 My third graders have been hard at work exploring landscapes (horizon lines, foreground, middle ground, back ground... etc). So, again, I decided that wasn't quite the way I wanted to exercise their brains after a morning of MEAP testing. So, we took a break and did chalk leaf piles. I have done this lesson for quite a few years now - and they always turn out beautiful. The students fold a piece of card stock in half, draw half a leaf, cut out the leaf in one long cut! They should have two stencils - a positive and a negative. (Sometimes it takes kids a few tries to get it.) Next they charge their stencil with leaf colored chalk, place the stencil on their paper, smear the chalk from the stencil to their paper. The students repeat this process with both stencils and then with each others stencils until their paper is filled - overlapped leaves and leaves that go off the edge.
Again, students start out loud and a little over the top - by the time they start using chalk the energy and noise level evens out.
--------
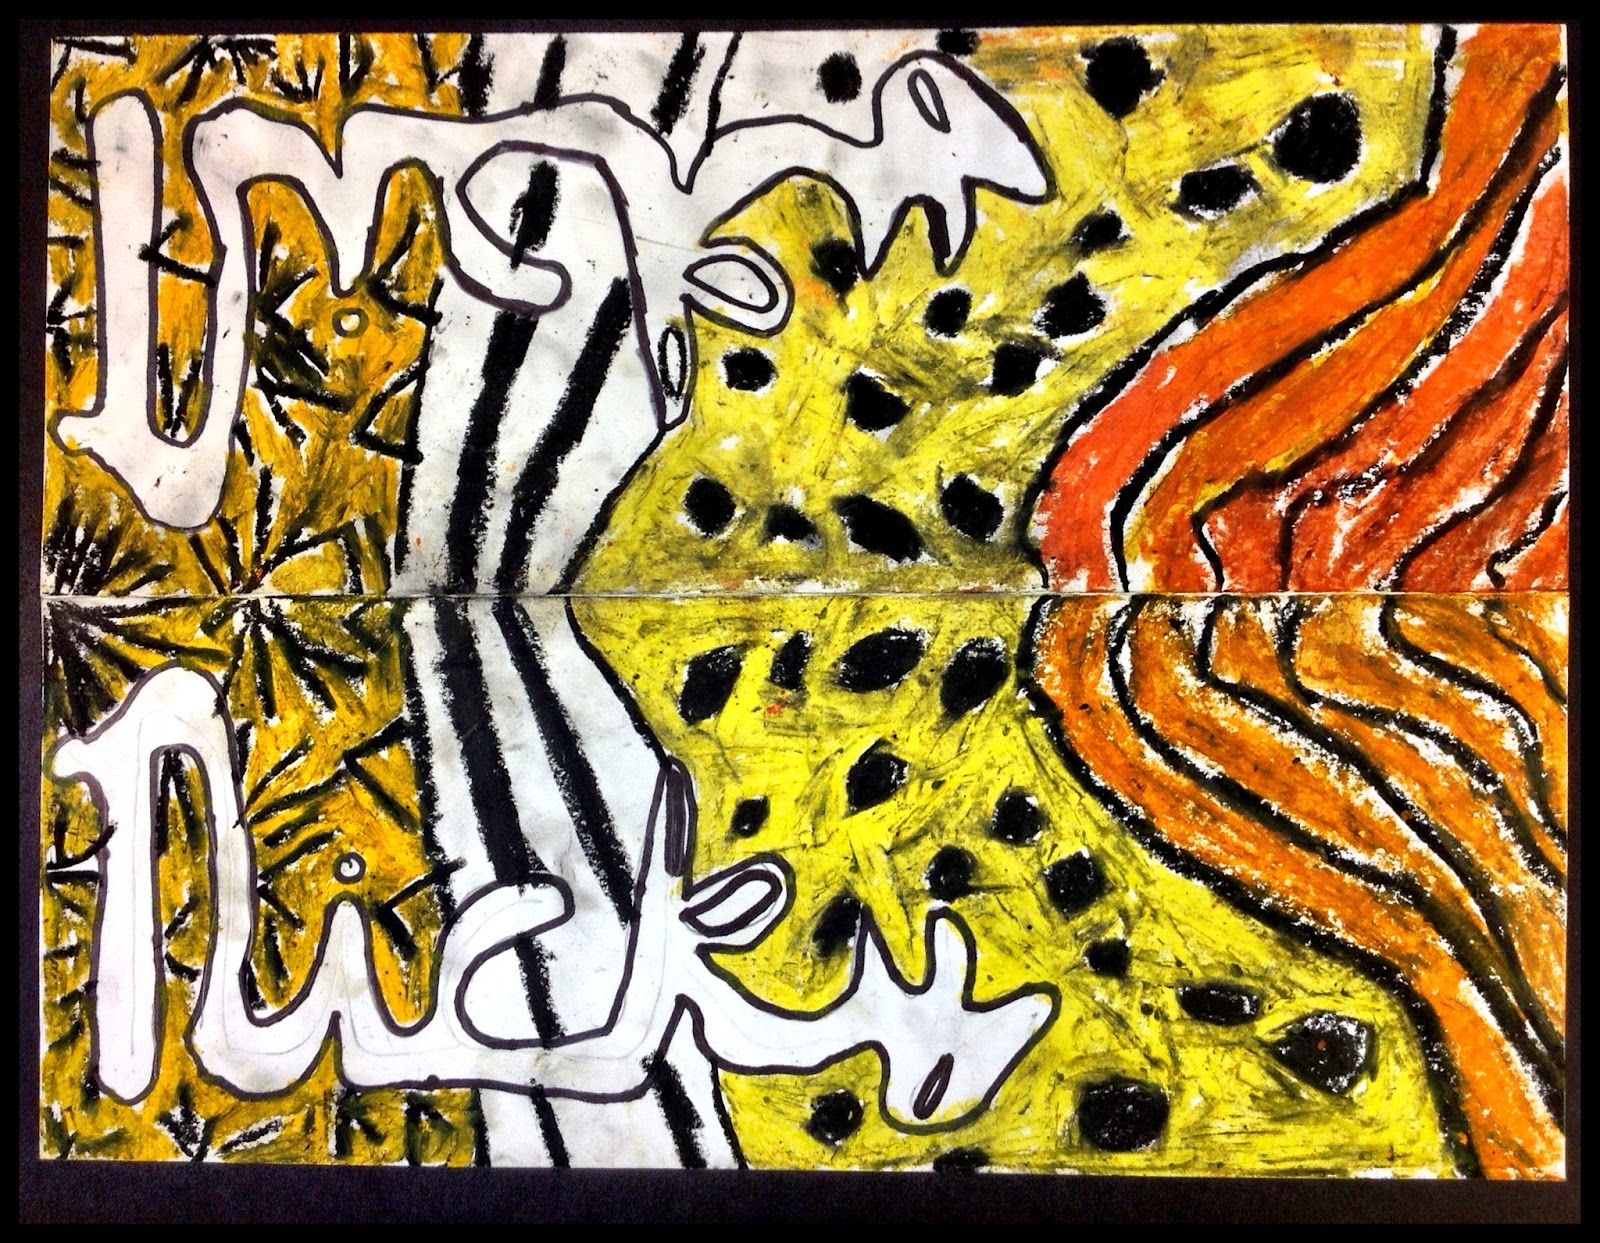
5th grade was a little bit different. They were finishing some 2-point perspective words and then starting their t-shirt designs for 5th grade production. So, while I didn't restructure their lessons like the other two grades - their assignments already focused on using their brain more creatively.