Pages

Showing posts with label Paint. Show all posts

5.06.2013

2nd Grade -- Jasper John meets Dr. Martin Luther King Jr.

Back, way back in the year right around Dr. Martin Luther King Jr. day I had 2nd graders combine the positive ideas of Dr. King with the amazing paintings of the Jasper Johns.

We started of by watching part of Dr. King's "I Have a Dream" speech.


Next, we brainstormed words that were positive.


Students then picked a word and wrote it in thick bubble letters on a piece of paper.  The thicker the bubble letters the better, if the letters are too skinny it will be hard to read.

The next class we looked at paintings by Jasper John and I asked them, "How can we see his numbers even though his paintings are messy and he doesn't outline?"  It took kids a while to figure out how to explain what they were seeing.  Once students voiced the idea that he used different colors on the edges - so the inside edge might be yellow but the outside is blue.
Jasper Johns

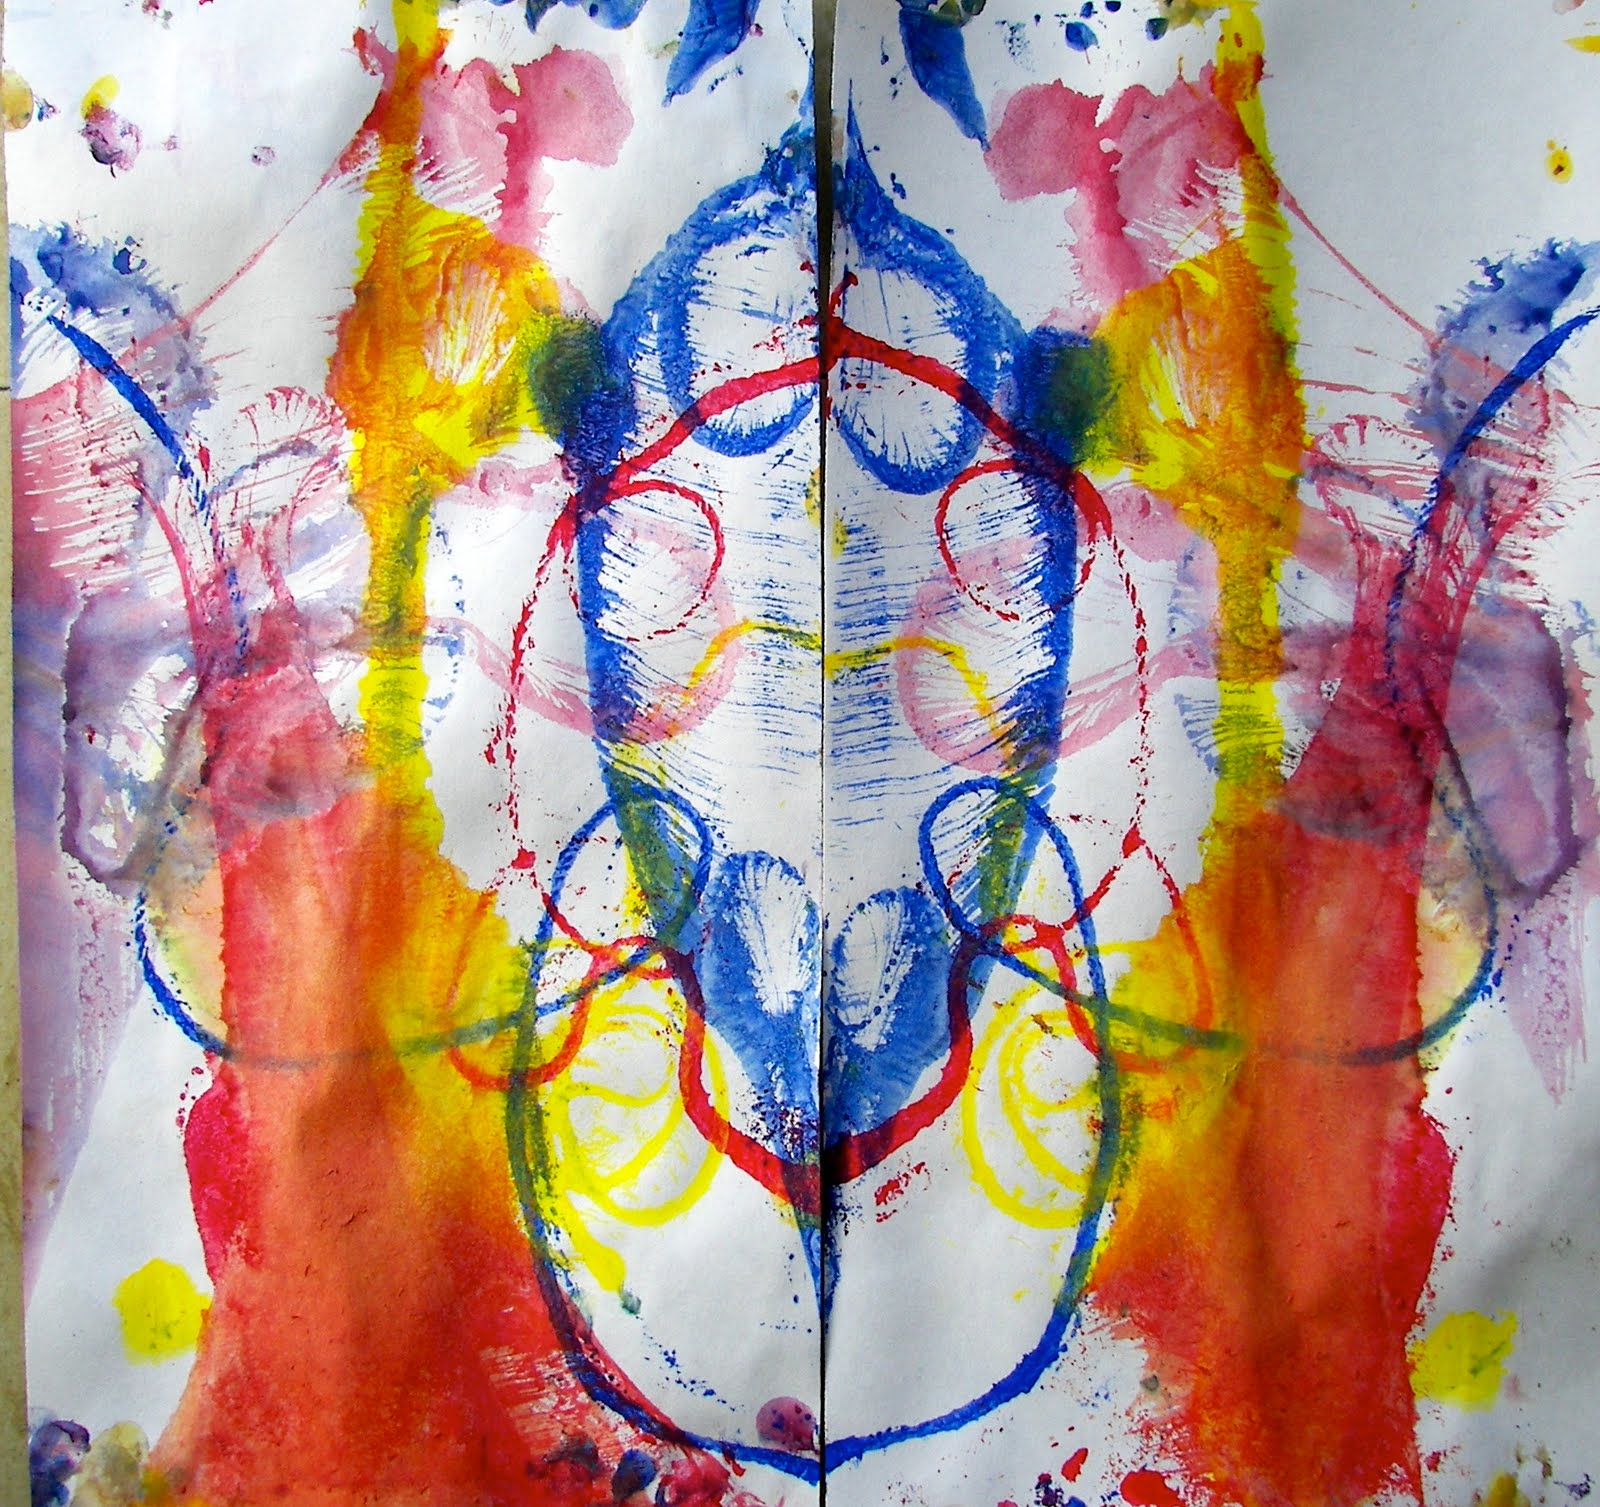
I passed out primary colors with white and showed students how to freely paint by double or triple dipping their paint brush.  I tried to stress that they needed to make the background different than their letter so we could read them.

Honestly, this lesson didn't turn out exactly how I had planned - but students LOVED it.  They really got into making different colors and painting making it hard to read many of their words.  Even though the end product wasn't exactly what I had envisioned, the project taught more than I expected.


8.08.2012

Summer In The City - Detroit

Even though, last summer, I was overwhelmed and stressed about finding a job, I felt a pull to do something in the community. I dreamed of finding a place that I could donate my time, make a difference, but still take vacation without issue, and to do this all during the week.  I wanted to have my cake and eat it too. 

Needless to say I didn't search for anything along those lines my first summer in Detroit - blame it on being lazy, stressed, or convinced there was nothing of the sort.

Fast forward a year. My second summer in Detroit and that nagging feeling returns - perhaps out of boredom, perhaps out of a need to be more... more.... more than just me?

In any case, I was surfing Detroit websites and somehow ( I can't seem to recreate how I got there) stumbled upon Summer In The City. It was everything I was looking for: volunteering during the weekdays, painting, planting, playing, and only a day to day commitment.

I immediately registered to be a volunteer. I realized as I was filling out the online registration that clearly this organization is geared at people younger than I (mostly high school). I like youth and figured why not- the website said they had volunteers as young as 40.

My first few days were..... different. Not bad, but different. Somehow I thought that it was going to be like a Disney movie. I was going to go the first day and be moved to tears about all the good I was doing. I think, without knowing it, I was expecting some kind of music montage.... None of this happened. Instead I was someone who showed up amongst many, many high schoolers. I did not volunteer with anyone I knew- so, me being the shy person I am at first, I only had a few introductions to main crew people and did as I was told.

Even though my first few days were a little lack-luster - I kept going. I don't know if this was out of boredom, or if I knew somewhere inside that I needed to be there - for me. (It also had to do with Ben and Liz - who pretty much called or texted me the first few days telling me where to go and introducing me to people.)

Fast forward, again, to this evening:
It has been a few weeks of volunteering at multiple paint sites around Detroit and I finally get it. I finally get why I kept going back, why I am growing to love Summer In The City.

Before Summer In The City
Currently, it is not for the friends (as I am still getting to know people and I am still pretty quiet)- it isn't for the amazing bright paint we use (which is pretty cheerful). I keep going back because I am learning about Detroit.

I am learning about a truer side of Detroit, a side the news doesn't show, a side the burned out buildings can't show. I am learning about a side of Detroit that only people willing to feel can understand.

During/After Summer In the City
I started Summer In The City very cautious of where I was going - afraid of the neighborhoods. I actually remember wondering what I would do if someone showed they were mad I was painting over their tag.....

Instead of being presented with hostile neighbors, as I somehow expected - I have had nothing but positive comments and interactions.

People drive by and honk and shout things like, "great work" "keep it up" "looks awesome" "thank you" "keep up the fight"..... It goes on.

People stop by and ask how to get involved or who we are. More than once in the last few weeks people have made on the spot cash donations, brought water or snacks.

I am learning about a side of Detroit that is hard to explain with words. The people in the neighborhoods are passionate about the city and want it to be beautiful and safe - these people are strongly passionate, but in a completely different way than I expected.

I keep returning to Summer In The City because it is bigger than me, it is bigger than the paint- it is a small step in helping people reclaim their city. The bright murals help people smile, which helps people have hope, which then leads people to care. I keep going to get over my fear and assumptions of the city- to meet people in the neighborhoods that I am changing.

Summer In The City is becoming more than a place to spend my extra summer time - it will be a place I will return to each summer for years to come.

Thank you Summer In The City for being awesome and welcoming me so earnestly and freely.

10.04.2011

"The Dot" by Peter Reynolds - Kindergarten Primary Color Theory


I love kinder art - there is something about their freedom of lines, not planning their marks, even down to how they write their names.  They don't have a 'ground' yet, no real understanding of 'correct' direction - love them.

If you have never read 'The Dot" by Peter Reynolds - read it and see how these were inspired.

The students drew 10 dots, signed their paper like Vashti in the book, then used only primary colors to make more dots!  Sure enough about 5 minutes into it I hear kids saying how they got green, orange, purple and sharing with their friends how to make those colors!


4.26.2011

2nd Grade - Tints/Shades cylindrical Cakes

This is one of my favorite 2nd grade projects.  I was inspired by another teacher in my district that does this project - though I have modified it a little over the last couple of years.

I start out by showing the students a slide show of layered cakes from Charm City Cakes.  The students 'ooooo' 'awwww' 'COOL!' and so forth.  I like to emphasize that this is a real job - that Chef Duff and his friends get paid lots of money to decorate cakes!  They even have their own tv show.

After the slide show is over, I freeze the slide show on one cake and I explain that they will be creating their own cake on paper.  They will get to decide how many layers, how the cake is decorated, and next time they will get to use paint to finish the decorations!  Often times, at this point students are very excited.  I then explain that even though their cakes will be on paper they will need to look 3-D.  We quickly discuss that we know in real life the cakes are round - but on paper they are flat with the illusion of being round.

At this point I explain that we will learn to draw a cake in 3-D.  I use the cake being projected on the white board, from the slide show, and ask the students what the very top shape is and to raise their hand.  I wait a few seconds and tell them to look carefully and not to be tricked - what shape is on the top.  I wait until most of the class has their hand up and then call on someone.  Sometimes I get a circle and sometimes I get oval.  I don't give them the answer - but instead I trace the top shape.  I ask the students to agree or disagree that I have indeed traced the shape - they agree.  I then cover the projector and ask what shape it is - They say 'oval'.  I then explain that their brain KNOWS that cake is circle - but when viewed at a certain view point that circle LOOKS oval.

I then proceed to trace rest of the cake pointing out key features that make the cake look 3-D, like: There are not corners on it, all the corners are rounded.  The next oval starts up on the edges of the layer above not on the bottom corner. 

After the students have helped me trace the cake I turn off the projector and do one more freehand on the white board having the students tell me what to do.  When the cake is drawn I explain they need to decorate their cake with BIG designs.  Students like to draw small detailed pictures on their cakes and it ends up being too hard to paint, so I emphasize BIG designs.

The next class I introduce tints and shades to the students.  I give them a hint to remember tint and shade -- that when you stand in the SHADE of a tree is it lighter or darker there?!  They reply with darker - that way they can remember that a shade is mixing black with a color and a tint is mixing white with a color.  We also do a quick review of the color wheel and how to use it to get the color you want.

Next,  I pull the students around a table and proceed to show them how I want them to mix colors.  I only give them RED, YELLOW, BLUE, WHITE, and BLACK.  I explain that there are three simple guidelines for mixing paint.  1) No mixing colors in the paint dishes.  2) The mixed color can not be bigger than your hand (if it gets out of control they clean up the paint and use crayons - way not fun) 3) All colors must be a tint or a shade.  I then proceed to mix colors by the input of students.  One student will suggest a color, another will tell me how to make it, and a third student will tell me to make it a tint or a shade.  I have the students scoop a little of the paint they want from the paint dish and put it on the table, wash the brush, and scoop the second color and mix.  I have found that mixing paint this way keeps students from mixing too much of a color.  In three years of mixing paint this way I have only had two students clean up their paint and use crayons.

This project takes 2-3 classes to paint depending on the skill, determination, and craftsmanship of the students.  In the past I have had the students cut out their cakes and mount them on construction paper.


The students really love this project and the cakes are always very interesting and unique.

3.29.2011

1st Grade - Pointillism Lesson 2

I was so impressed by my 1st graders work on their first pointillism project that I upped the rigor and gave them more colors for the second lesson.

We started out class by looking at this picture of pointillism I found on the internet - it's not the best picture of pointillism but it is a fantastic one to look at to really understand that pointillism is done with small dot like shapes using multiple tints/shades of one color.


The students and I looked at the one above and compared it do the ones they did - they noticed that the blue had lots of blues instead of just one and the trees had more than just one kind of green.  I asked them if the blues were all mixed up or if they made a pattern - they said all mixed up!  After this I did a quick demonstration of using more than one color in each spot and explained they needed two colors in each part!


The students drew a new simple picture, put on their paint shirts, got a Q-tip and started -- they are pretty amazing!  I can't wait to see the projects finished!

Close up of the tree.

3.24.2011

1st Grade - Pointillism

Pointillism is something that really fascinates me and I've always wanted to do a project with it - but the school year always seems to run out before I can get to it.  Somehow, this year I've gotten through the majority of my curriculum and still have school days left - fantastic!

I started out by finding examples of pointillism on the internet and putting them into iphoto - I played these pictures in a slide show for the students with the specific question of 'How where these painted?' "What is special with how these are painted?"  I let the slide show play through a couple of times asking the students to raise their hand when they think they know.  I do this for a couple of minutes making sure there is enough 'think time' for everyone.  When most of the class has an idea I ask for students to share what they have observed.  I've never had a class not notice the dots.  I explain to them what pointillism is and who started it.  I continue to ask them questions about the dots - 'Are they far apart?' 'Do they touch?' 'Is there one color?'.  Before we get started I restate that we will be painting our pictures today using pointillism and ask the students how are we painting today - and they respond 'pointillism'.


I then do a demonstration around a table.  I gather the students, a pencil, a piece of paper (6x12 inches), a q-tip, and two colors of paint.  Once they are ready I begin by showing them their size of paper and explaining they need to draw a very simple picture - a hill with a tree, a simple rocket ship, a large flower....... since we are doing pointillism and painting with dots we need to have large open spaces!  After my picture is done I pick up my q-tip, dip one end into a color of paint and start making dots on my paper.  I ask the students if I dipped my q-tip back into my paint each time - they respond 'no'.  I show them what dots close together, overlapping, and what dots far apart look like.  I also show them what it looks like to paint with the q-tip by dragging it instead of dots.  I ask them if they can see the difference and ask if they know who else can see the difference - they respond that I can see it too.  To change colors I show them how to flip over their q-tip and dip the clean end into the new color of paint!  We talk about how pointillism takes longer to paint a picture rather than painting with a paint brush or dragging their q-tip - but that our goal is to not paint fast, but to use dots!

I answer any questions and then send them back to their seats.  I have students pass out paper and pencils while I pass out paint and q-tips.  Each students receives 2 q-tips since I give them 4 colors.  When students are done with their simple pictures, they put on paint shirts and start filling in their pictures with dots!

This actually went a lot better than I expected and plan to up the difficulty next class period and have them use two colors in each section rather than one!

3.04.2011

3rd Grade - Esref Armagan

Picture of Mr. Armagan - found on the internet
After my lesson on "The Black Book of Colors" I introduced my students to Esref Armagan - a blind painter.  The youtube video talks about Mr. Armagan's genetic mutation that caused him to be born without eyes - yet he can paint with perspective - something he shouldn't be able to do according to science. (More on Esref Armagan)


I had the students watch the above video - in which they were in complete awe.  After the video I explained that they are going to try and paint like Esref Armagan - blindfolded with only their fingers.  I did a quick demonstration on how to use their fingers to try and keep track of where they have painted.

I paired the students up - one got a blind fold and the other is their spotter.  The student who is blind folded is to try their best to draw a simple picture.  The spotter's job is to make sure they don't paint someone else and to guide them to the color they want.  After the student who is blindfolded is done - they switch spots.


The students were eager to try.  Many students found it much harder than they thought it would be.

(I just learned of another blind painter, John Bramblitt, from another Art Teacher blog.)

1.21.2011

3rd and 4th Grade Musical - A Kid's Life

A Kid's Life was one of the most fun shows to prepare for!  The students and I gathered t-shirts for their costume!  They got to pick the font of "A Kid's Life" for their shirt - I ironed it on and off we went designing their costumes.  The creativity and patients they had to make their shirts the best they could was fantastic - they wore them very proudly during their show.

The show story and songs were a blast for the kids to sing to - but also for their backdrop.  The show was all about how the power goes out and the kids have nothing to do - no computers, tvs, all cell phones are dead - all hand held games are dead - they are in distress.  Grandma and Grandpa come over to watch the kids while Mom and Dad are at work.  The grandparents teach the kids how to play board games, card games, tell ghost stories, make silly instruments to play in a band, make paper air planes, jump rope and so much more.  All these activities made designing the background a lot of fun.

I drew it out, the kids painted it, and I outlined it!  It was beyond amazing!

Students Learned/Reviewed:
- Graphic Design
- Typography
- Backdrop (theatre)
- Problem solving
- Planning Ahead
- Patients
- Teamwork
- Ownership


1.17.2011

K-1st Grade Musical - Barn Yard MOOsical

While the students were learning all their songs and actions to the Barn Yard MOOsical in the music room, they painted the backdrop for their show in the art room!

For each musical I draw out the backdrop on large paper (33'x8').  I cut or fold the backdrop into four sections - one section for each day of the specials cycle.  Every student that wants to paint part of the backdrop has the chance to paint.


The Barn Yard MOOsical was a blast to paint with the K and 1st grade students.  They painted the whole thing - all I did was outline it in the end.

1.06.2011

Kindergarten, 1st Grade, 2nd Grade Wrapping Paper

I first did this lesson a few years ago and since then my students ask to do it each year around the holidays.  I cut large pieces of paper from paper rolls that have been donated to my classroom - about 18x24.  The students and I talk about different times we use wrapping paper and how all wrapping paper has a design that repeats.  Next, the students and I brainstorm all sorts of patterns using shapes and lines - the older the kids the more complex the patterns.


I pass out paints, brushes, and paper and let the kids make their own wrapping paper - fantastic!

1.05.2011

Kindergarten Mixing Secondary Colors

I absolutely love mixing secondary colors with kindergarten - it's magical.

First I read them the book, "The Dot" by Peter H. Reynolds.  Next, I pass out long thin sheets of paper with black crayons and ask the students to write their name and draw some dots - just like the book.  After students have some dots I pass out watercolor trays with only yellow, red, and blue showing.  The students jump right in and start to paint colored dots.

It doesn't take long before someone gasps and says, "Ms. Novak I made GREEN!"  All the other students get excited and I ask the student how they painted green when they didn't have green on their tray.  As I talk with this student I can hear other students discovering how to make green, purple, orange and all ranges of these colors.


The excitement and awe in their voices as they discover secondary colors is absolutely amazing.

4.05.2010

2nd - Monoprint String Art

Students use string and watered down tempera paint to make these wonderful symmetrical mono prints.

Students Learned/Practiced:
-Printmaking
-Mono-printing
-Using materials appropriately
-Symmetrical
-Composition

The students first put their names on two pieces of paper, put on a paint shirt, grabbed a magazine, and sat ready to go.  On their tables I placed water down tempera paint on bucket lids; red, yellow, blue.  I then put two pieces of yarn in each color (about 14 inches long).

Next, the students squeeze the extra paint out of a piece of yarn and place it on one of their pieces of paper - with one end of the string sticking out.

The students place the 2nd paper on top of the first (which has the string on it) and put a magazine on top.  Slowly pull the string out.  Peal the papers apart and repeat until finished.

2.14.2010

Kindergarten Eric Carle Flowers

Students in my kindergarten class created their own papers to make flower collages like Eric Carle.

Students Learned/Practiced:
- about illustrator/writer Eric Carle
- how Eric Carle makes his papers
- using scissors
- composition
- gluing
- problem solving

We first read "Little Cloud" by Eric Carle.  I talked with them about brush strokes and the different shapes he used to make his pictures.  Next, we traveled to Carle's website and watched a quick slide show explaining how he makes his papers.

During my demonstration I have the students tell me what they remembered from the slide show.  When my demonstration was over the kids put on paint shirts and made their own beautiful papers.

 The next time the students came we read "The Tiny Seed" by Eric Carle.  I then explained that we will make our own flower, like in The Tiny Seed, with the paper we made from last class.  I do another quick demonstration to refresh their minds on using scissors and glue.

I turn them loose and watch the creating begin!