Pages

1.11.2011

3rd - 4th Grade Graphic Design (T-shirts for Jump Rope For Heart)

This year I have tried to focus projects towards real life art jobs - more than just drawing and painting pictures in class.  When the PE teacher in my building told me that Jump Rope for Heart was holding a t-shirt design contest for next year - I thought, how perfect!  I immediately started to design a unit around graphic design and typography.

After I introduced the project the students were very excited!  I haven't heard my classroom so quite.  Students first did two rough drafts to get their ideas down on paper.  Their requirements were to have text, typography, that said either 'Jump Rope for Heart' or  'Be a Heart Hero' or something else that goes a long with the theme.  They also needed some type of graphic that makes sense for the project, and last they needed to fill space appropriately.

Next class the students working in partners to share their favorite design and talk about what they liked, what they planned to change and what they wanted their final to look like.  After their discussion they jumped into action and started their final design.

Final Requirements:
-Readable (text needs to be able to be read easily, also all words spelled correctly)
-Graphic that makes sense
-Fill space appropriately
-Colored with quality


1.06.2011

Kindergarten, 1st Grade, 2nd Grade Wrapping Paper

I first did this lesson a few years ago and since then my students ask to do it each year around the holidays.  I cut large pieces of paper from paper rolls that have been donated to my classroom - about 18x24.  The students and I talk about different times we use wrapping paper and how all wrapping paper has a design that repeats.  Next, the students and I brainstorm all sorts of patterns using shapes and lines - the older the kids the more complex the patterns.


I pass out paints, brushes, and paper and let the kids make their own wrapping paper - fantastic!

1st and Kindergarten Kirigami (snowflakes)


When we came back from Thanksgiving break we had our first snow in the Midwest and the students were excited - so I took the opportunity for a 'teaching moment'.  Instead of fighting the snow I taught the students about kirigami, cutting folded paper, and made snowflakes!  The students were very excited and had a great time cutting shapes and being surprised when they opened their creations!

3rd and 4th Grade Books

This was a new project I did this year with my 3rd and 4th grade students - a lot of fun.  The covers were completed in the first class period.  I wanted the students to expand their reasoning/critical thinking skills - so for their covers they had to create a non-recognizable line composition.  The trick with this assignment was that the students needed to tell me why they were done.  Some students needed some guided questions to help them articulate why they were done - many stumbled onto the answer by accident or out of frustration.  Students would try things like, 'I worked hard' or 'I did my best' or 'I filled the whole thing in' -- all great things - but not why they were done.  For many students who still struggled I compared their project to making cookies.  You spend all the time making the cookies and when they are done you take them out of the oven - if you keep cooking them they burn, or get ruined.  At this point many students understood that if they kept working on their project it would be ruined.

The next two classes were spent learning how to use a jig, folding and punch holes in paper and then binding their books!

These books are made in such a way that they are meant to be taken apart if desired.  This way the students could take out pages or add pages after they left the art room!!!

Students Learned/Practiced:
- Compostion
- Critical Thinking
- Patients
- Fine motor skills
- what and how to use a Jig
- Problem solving  


3rd - Before/After Self Portraits

My third graders take the first day of this project to draw the best self portrait they possibly can.  The next time they come to art I take them through a series of pictures on a slide show - each picture I ask them questions and trace different parts on the board.  For example - I put up a picture of my niece when she was a baby - I trace her head and then put a line through her eyes horizontally.  I ask the students where on her head are her eyes - they of course see they are in the middle.  I proceed to do this with her nose, mouth and ears.  The next picture is another picture of my niece at around two.  I start again as I did when she was a baby.  This helps the students understand that the eyes really do belong in the middle of the head and the hair fills up the top of the head.  The last picture I do is of President Obama - I choose him because he has very short hair and the picture is straight on.  I repeat the steps above to really sink in the proportions of the face.

After this exploration the students start a new self portrait using their new knowledge.  I walk around the room and fold heads in half to check for eye placements!  Most students will be really close.


When the project is over the students open their paper and compare their drawings - many students are shocked that they put their eyes so high!

1st Grade Tooth Fairies

The learning target of this lesson is to introduce first graders to profile portraits.  I show a slide show containing only profiles and I ask the students what they notice about all the pictures - most of the time students will say they are all people, they only have one eye...etc.  Next, I pause the slide show and have the students help me observe the picture.  As we explore the picture I trace the profile onto the board.  When we are done I turn off the projector to have a profile left.  I then explain rest of the project.

The project expectations:
- The tooth fairy needs to be sideways along the top - flying
- The face should be a profile (one eye, side of nose, half mouth...etc)
- Tooth fairy needs to be bigger than my hand (they tend to draw small)
- Tooth fairy needs a way to fly! (we brainstorm these and the kids get really excited - cape, jet pack, balloons, wings (fly, dragon, fairy, butterfly....)
- Tooth fairy should be flying over something (houses, park, zoo, forest, mountains...)


Students learn/review:
- profile portrait
- creative choices
- problem solving


1.05.2011

4th Grade Bobble Heads

I started this project with 8th graders four years ago and now I do it with 4th graders.  Every year I am impressed by what my students create.

The head of the bobble head is an upside down pinch pot.  Students add clay by scoring and slipping.  The body is where the real creativity comes in.  I do not require the students to do all the same bobble head, or even the same type - so the body is a lot of critical thinking and problem solving on their end.

The guidelines I give my students are these:
- Something needs to bobble - preferably a head, but other ideas are welcome*
- Everything added MUST be scored and slipped to keep it together.
- The body must sit or stand alone
*I have had students bobble the top of a mushroom, pumpkin on a vine, turtle shell....

After the bobble heads are made and bisque fired the students glaze them as they see fit.


These always blow me away!

Kindergarten and Henri Matisse

The kindergarten students and I look at a bunch of prints by Henri Matisse (his shape ones) and describe what shapes and colors we see.  First, the students quickly name the shapes that have names - square, rectangle, swirl - then they get into the organic shapes - bush, leaf, tree, octopus.   We talk about how those shapes that look different to everyone are called organic shapes.

Next the students observe and report what they notice about the colors -- mostly solid, bright colors.  Most of the time one student in class will observe how most of the organic shapes sit on top of geometric shapes.

After our discussion/exploration of Henri Matisse I demonstrate how to make geometric and organic shapes with my scissors out of scrap paper.  I remind them how to use glue and turn them loose with their own papers.


This is a great lesson to work on using scissors while having everyone succeed in the learning target - a picture inspired by Henri Matisse.

1st Grade Pinch Pots

I teach my first graders how to make basic pinch pots.  The students make their pinch pot and then decide if they want to add a handle or lid or even both!  I demonstrate how to attach the clay by scoring and slipping.

After they are fired I let the students glaze their pinch pots - the results always fantastic!

Kindergarten People


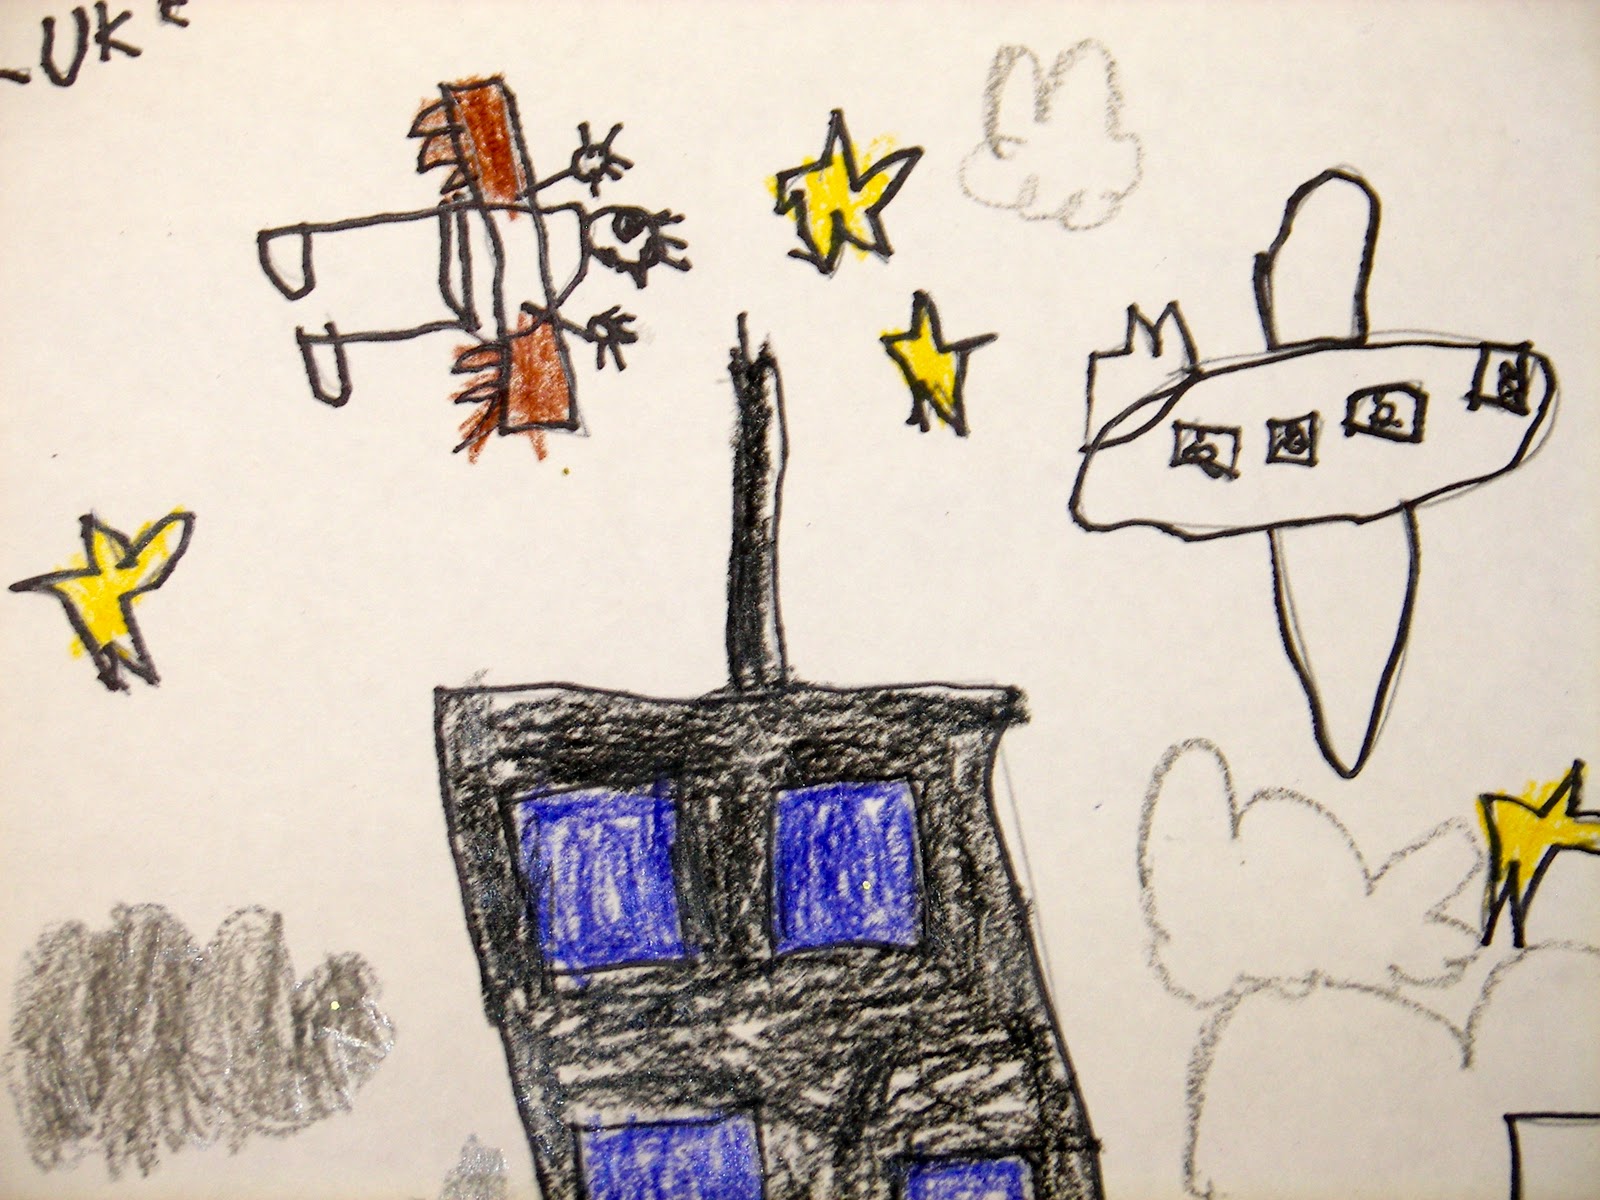
I enjoy doing people drawings with kindergarten in the beginning of the year and at the end - it always shows such great growth!  Here are some examples from the beginning of the year.  I emphasized that their people needed to fill the paper, have eyes, nose, mouth, arms and legs.  I generally don't specifically ask the students to draw bodies - as some students are developmentally aware and others are still drawing cookie people (arms and legs come out of head).  The students generally will trace their pencil drawings with Sharpie and then watercolor.  The developmental range is beautiful.

Kindergarten Collage Monsters


This is a great project for the beginning of the year!  Students of all abilities can easily succeed at this project.  Before the students and I listen to the book, "There was an Old Monster" I give them a mission - a mission to pay close attention to the monster - what do the eyes look like, hair, fur, colors.....etc.  We listen to the story as we look at the pictures.  When it is over the students and I brainstorm about monsters - we compare and contrast the monster with other monsters (Monsters Inc, Sesame Street..etc).  The students often come up with the idea that monsters could be anything made up!  It could have lots of eyes, or teeth, arms, legs, spots, fur, wings.... etc.

At this point they are pretty excited.  We move onto a demonstration about how to cut paper or tear it depending on what they need to work on - also a refresher course on how to use glue.

I pass out scrap paper buckets to each table and let their creativity soar.

Students Learn/Review:
-How to use scissors
-How to use glue
-How to tear paper
-Problem solving/critical thinking
-Creativity

Kindergarten Mixing Secondary Colors

I absolutely love mixing secondary colors with kindergarten - it's magical.

First I read them the book, "The Dot" by Peter H. Reynolds.  Next, I pass out long thin sheets of paper with black crayons and ask the students to write their name and draw some dots - just like the book.  After students have some dots I pass out watercolor trays with only yellow, red, and blue showing.  The students jump right in and start to paint colored dots.

It doesn't take long before someone gasps and says, "Ms. Novak I made GREEN!"  All the other students get excited and I ask the student how they painted green when they didn't have green on their tray.  As I talk with this student I can hear other students discovering how to make green, purple, orange and all ranges of these colors.


The excitement and awe in their voices as they discover secondary colors is absolutely amazing.

2nd - Radial Sun Designs

I modified an old lesson of mine - 3rd grade Radial Sun Window Clings for the 2nd grade Original Works fundraiser.  Instead of doing these on plastic window clings the students followed the same basic steps, but on a piece of 8.5x11 piece of paper.

The students learned/practiced:

- Radial Design
-Concentric Circles
- Shape
-Pattern
-Line
-Hot and Cold Colors

Lesson:  Students were given different sized round objects to trace in the middle(ish) of their paper.  Once the students do 2-3 concentric circles they fill each layer with simple shapes.  Many students will do a pattern of shapes.  We discuss how the shapes have to go all the way around the circle to make it a radial design.

Once the student fills the circles in with shapes and does a row of shapes around the last circle they draw lines across the paper in the background.  The students and I talk about different types of lines and how far apart they might choose to make their lines - they will need to color it!  

After all the drawing is done students trace with a permanent marker. 

Now comes the fun part.  The students and I review hot and cold colors.  The hot colors belong in the sun, or concentric circles and the cold colors should be in the sky - or around the concentric circles.


When students are coloring we emphasize not seeing any white since white is not hot or cold, and how they should color in and around their shapes instead of over top!

This is one of my favorite projects.  All the students succeed, the colors are bright, and they are stunning when they are completed!


3rd - Silouette Trees

 I do not remember how this project came to me - I think I was trying to do something else and a mistake turned into a pretty awesome project.

This is the project that 3rd grade did for their Original Works fundraiser project.

The students were given a piece of 8.5x11 piece of paper and a strip of masking tape - about arms length.  The students tore the masking tape with their fingers, making rough sides/edges.  As the students tore the tape they built their tree.  The thicker pieces for the trunk, small tears can be used for tiny branches - each piece can be added to the tree.

Some students chose to do a landscape, others portrait style - some students have one tree or many.

After the tape is used and the students like their composition - they color over the tape, filling the whole paper with oil pastel.  The students can make patterns, sunsets, random colors - anything they can think of - they must fill the whole paper with solid color.

Once the paper is filled with color, peal the tape off very carefully.  If the paper rips a little, it's okay - a bonus branch.  I demonstrate this for the students and show them how sometimes mistakes can turn out pretty awesome.

The end results are wonderful!  All students succeed and all projects look very different!

4th Grade - Repeat Letters


I did not come up with this project on my own.  I saw a project like this for middle school or high school students on another art education website, though I can not remember which one - I apologzie. 

I modified the lesson for my 4th grade students.  I used this lesson in the beginning of the year for the 4th graders Original Works fundraiser.

 Students Learned/Practiced:
-Folding
-Pattern
-Bubble Letters

Lesson:
Students started out with a normal size piece of paper (8.5x11) and folded it in half twice both directions (hot dog/hamburger).  Students should have 4x4 rectangles.  Next the students needed to pick a word - I suggested last name, season, color, food, animal - something that someone would want to buy, since this was for our O.W. fundraiser.

The students then drew a letter in each box making sure to almost fill the box with the bubble letter.  The students continued this until they ran out of boxes.  NOTE: The words wrap around - in other words, the chosen word may get broken in the middle.

Once the students filled their paper they planned out their colors/patterns.  Each letter that is the same should look the same - so all the A's should have the same color/pattern - all the P's should be the same - ect.

We also talked about the idea that there should only be white were white is planned - so when they are coloring in a spot red - we should see no white through it.


4.05.2010

2nd - Monoprint String Art

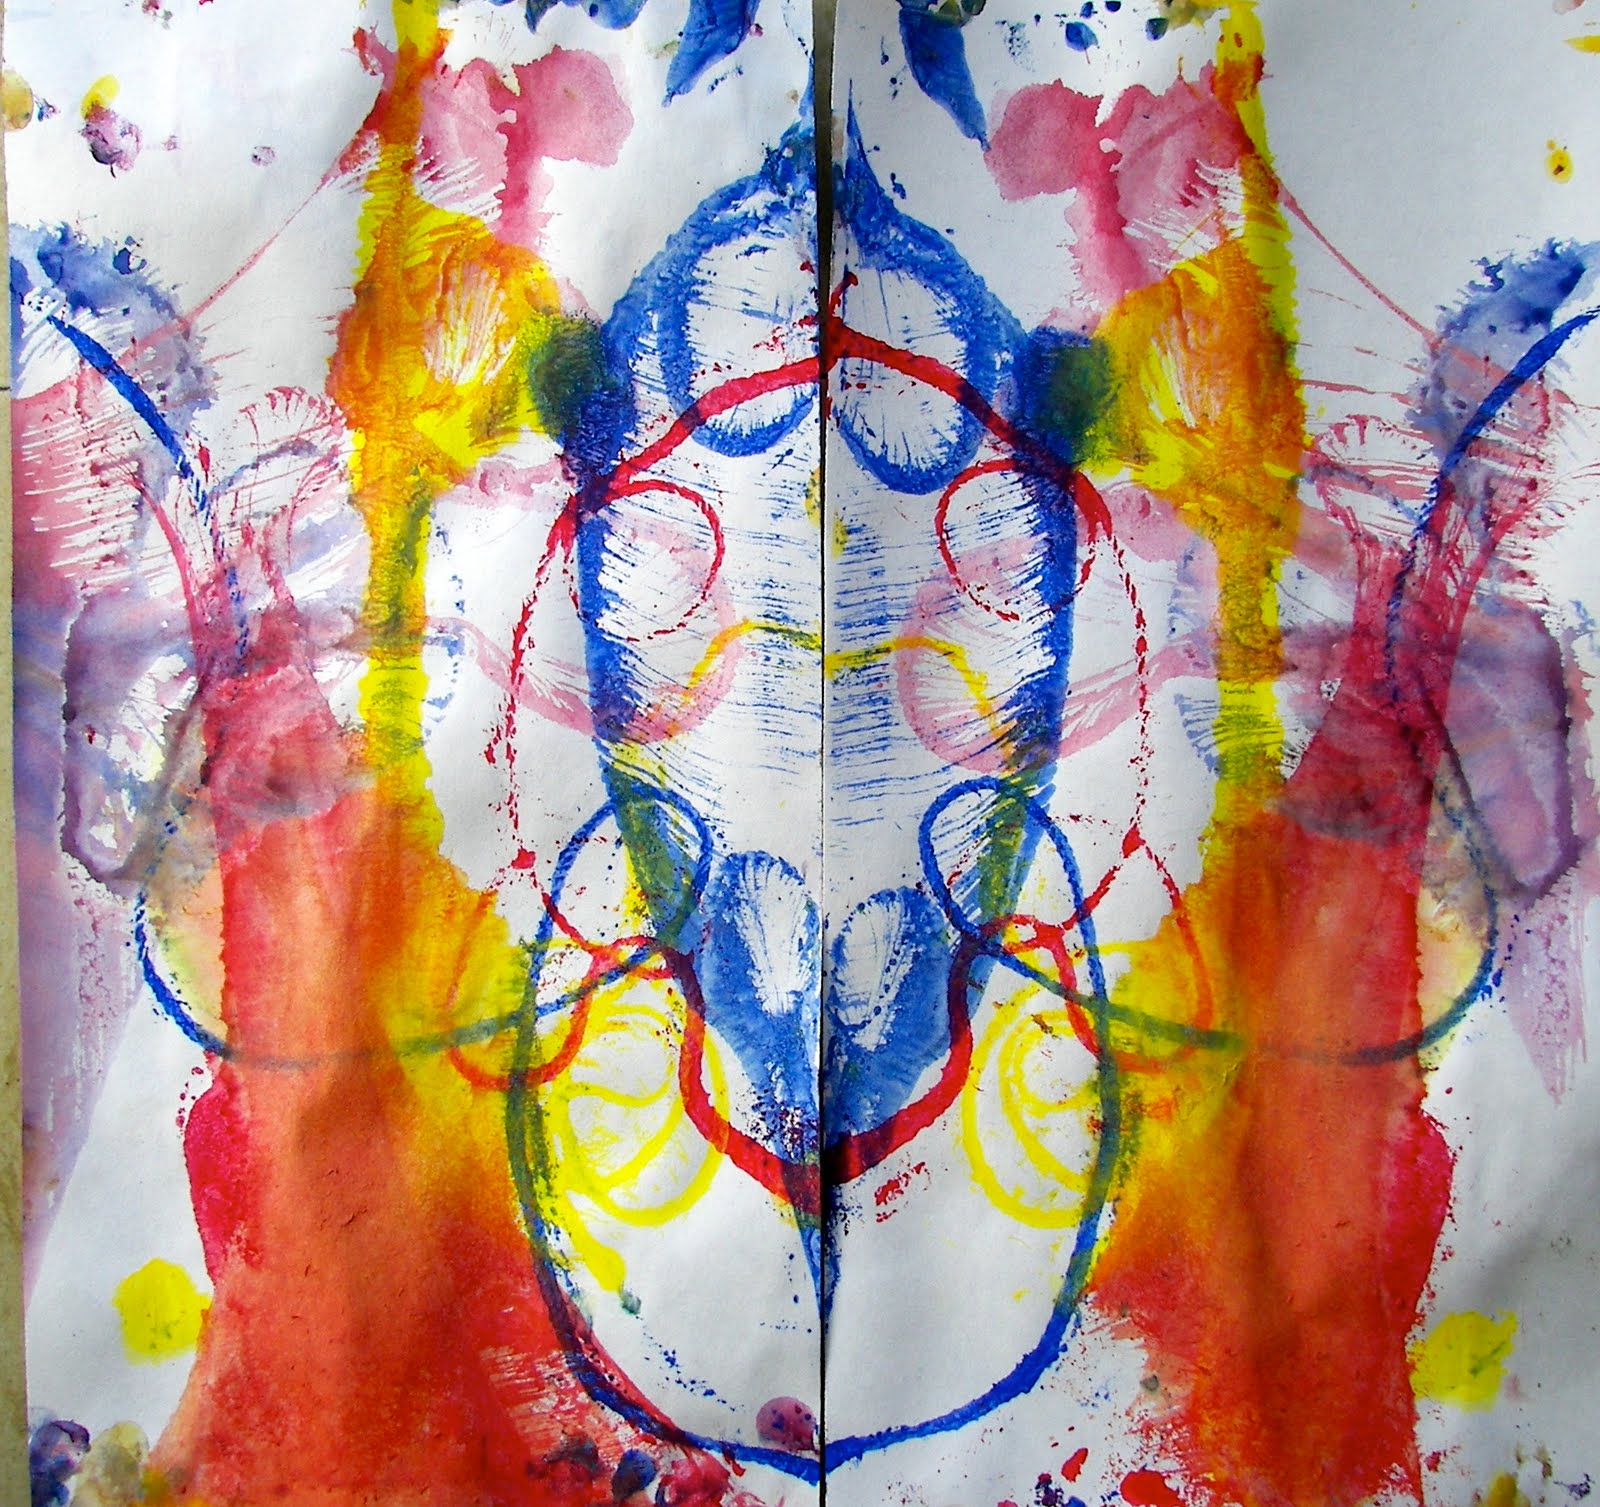
Students use string and watered down tempera paint to make these wonderful symmetrical mono prints.

Students Learned/Practiced:
-Printmaking
-Mono-printing
-Using materials appropriately
-Symmetrical
-Composition

The students first put their names on two pieces of paper, put on a paint shirt, grabbed a magazine, and sat ready to go.  On their tables I placed water down tempera paint on bucket lids; red, yellow, blue.  I then put two pieces of yarn in each color (about 14 inches long).

Next, the students squeeze the extra paint out of a piece of yarn and place it on one of their pieces of paper - with one end of the string sticking out.

The students place the 2nd paper on top of the first (which has the string on it) and put a magazine on top.  Slowly pull the string out.  Peal the papers apart and repeat until finished.