Pages

Showing posts with label Light Graffiti. Show all posts

6.11.2012

Light Graffiti (Week Two) -- Whole School

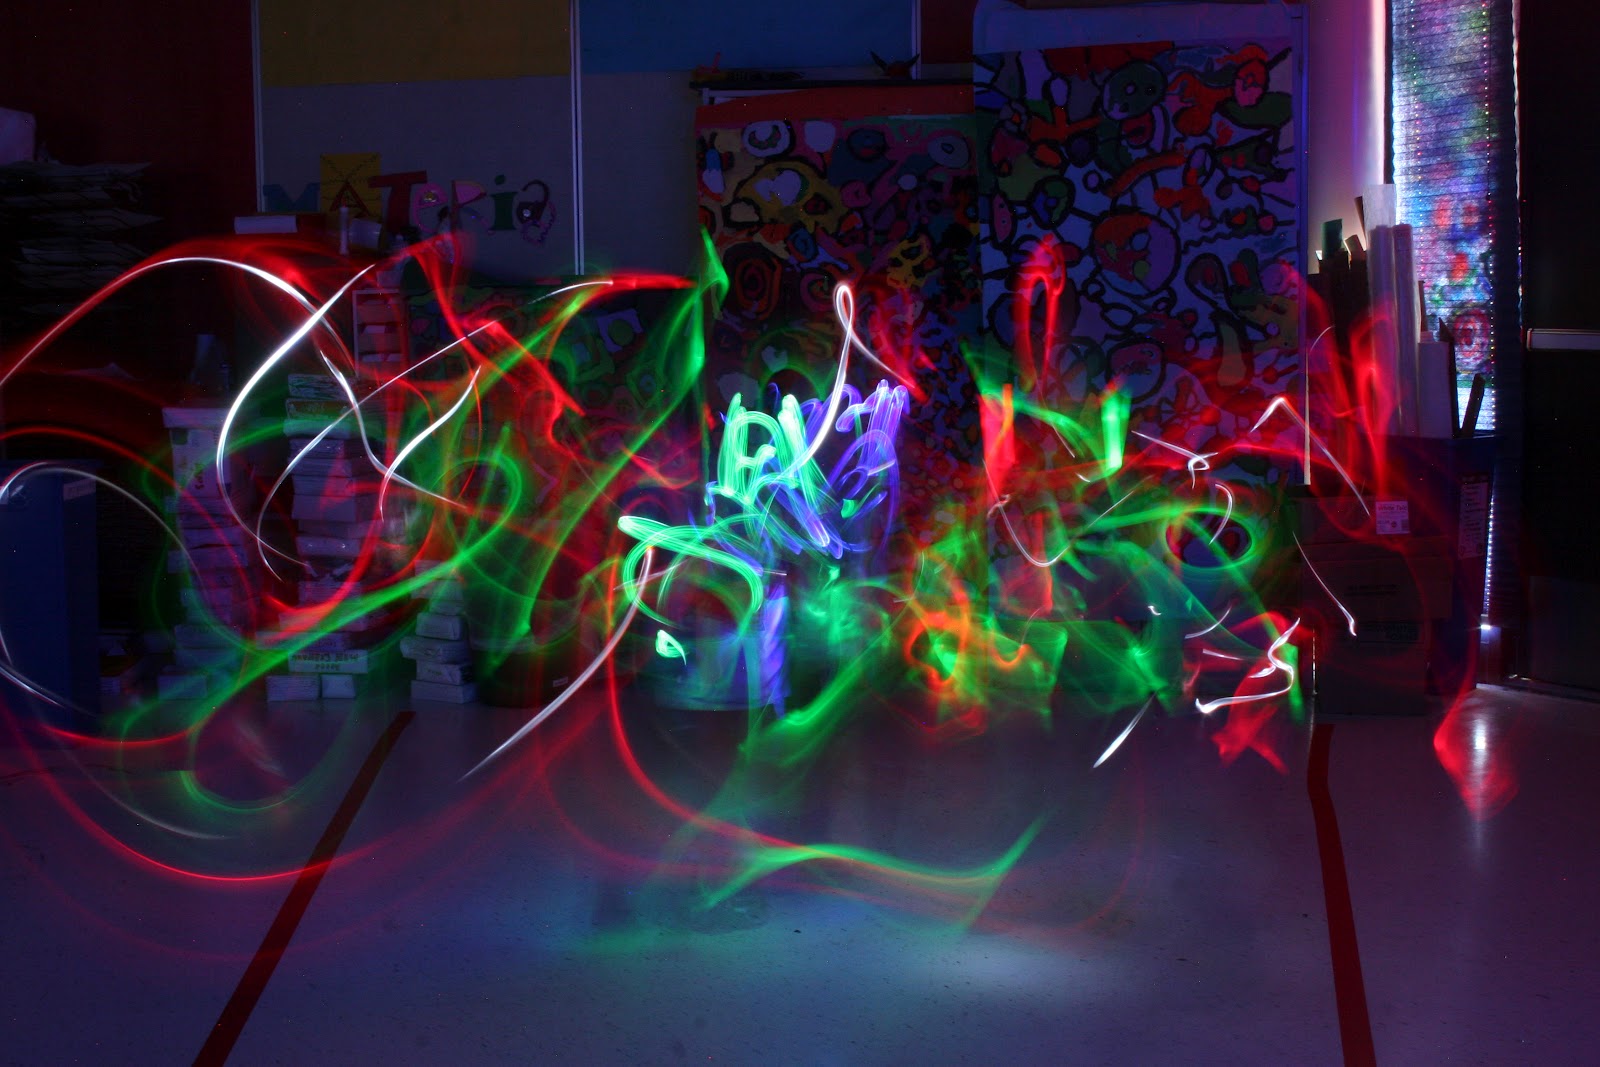
So, the second week of light graffiti is a less experimental and more deliberate.  Our goal the second week is to create recognizable pictures.  Students work in groups to create simple compositions based on a slip of paper they pull from a bucket -- it is harder than it seems.

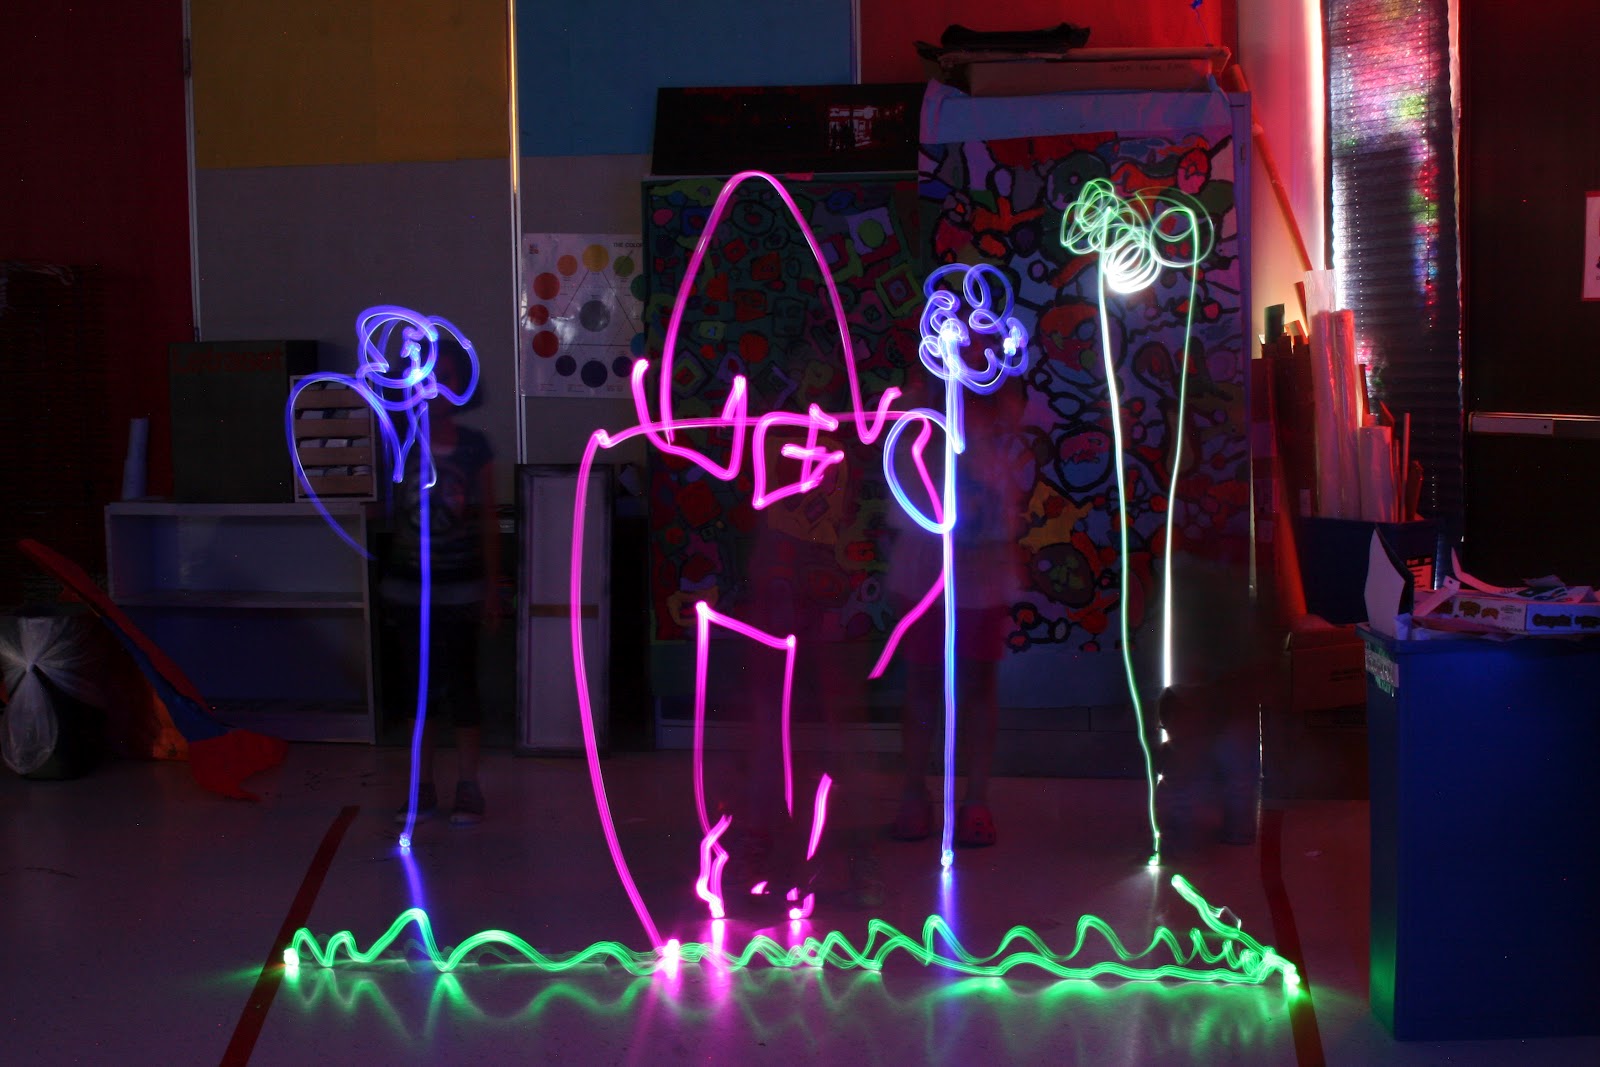
So I do an example with a few volunteers from the class so that kids understand how it works.  I first ask my volunteers to each pull a strip of paper from a bucket.  In the bucket there are strips with words and a simple picture: grass, house, flower, tree, cloud, sun, and stars.  When we each have a strip of paper telling us what we are going to draw - we combine our images onto a piece of paper to make a picture.  I let each person draw their element on the paper and point out that no one is being bossy and telling people where to put each piece.


1st Try

2nd Try
Next  I show where to hand in the paper and return the slips.  Then I call my group to get their flashlights and get ready.

I help set up our picture by asking the class to help us figure out where to stand.  I ask them "Where should the grass be - front, back or middle?" - Most of the time they all agree with the front, but some classes need a little help figuring it out.  "Should the grass be drawn up in the air by my belly button?"  - No. "Where should the grass be?" -- On the floor.  "Okay, so now where should the flower go?" - Behind the grass.  "Where should the flower grow from?" - The grass/floor".  This process goes on till all our elements are in place.  Next, we take the picture.  When the picture is displayed on the projector we take a look and make adjustments to where we are standing, how fast we need to draw, covering our light when we are done, or perhaps getting a new light.  We then do a 2nd picture to try and improve.  Often times the 2nd picture is WAY better - though not always.  Below is a video of students doing their 2nd picture.


Next, the students break up into groups of about 5, pull their strips, draw their picture, hand in their picture and wait for their turn.  We go through the groups one at a time - making sure each group gets at least 2 pictures from the camera.

Most groups did a great job and exclaimed how much harder it was than they thought it would be.  


6.06.2012

Light Graffiti -- 2012 (week one)

As always, light graffiti has been a HUGE hit with my students the last two weeks.


The first week I introduce Light Graffiti by asking the kids what they know about 'graffiti'.  Generally someone says that it is done with spray paint and that it is illegal.  I tell them that is true, but graffiti can be more than spray paint.  I explain that graffiti is making a permanent mark on a surface that you don't have permission to write on  - and yes it is illegal.  We briefly discuss that some art might look like graffiti but are really murals.  I explain that graffiti can be a mural when the artist is granted permission to do their art on a specific surface.


After discussing graffiti and murals I ask students why they think that LIGHT graffiti might be a popular alternative in the art community.  Some classes get it right away and other classes need a little push.  I will often emphasize the word LIGHT in my sentence again.  How do you think LIGHT graffiti would differ from normal graffiti and why might artists like the alternative?!  ::POP:: ::DING:: the hands shoot up all over the room.  Yes, yes, light won't make any permanent marks on the surface - so it isn't illegal!! 


Next we watch the following two videos that I found on youtube.  I explain that the first one is a commercial and that we will watch it twice -- once for fun and the second time to look for the people creating the light graffiti.  The second video is a tutorial that explains what we need to make our own light graffiti.

1st Video:

2nd Video:


After the videos the students tell me what we need for the day:  colored lights, camera, tripod, and setting settings.  (If there is time at the end of class I explain and show the students the shutter/shutter speed).


Next, I explain that I will call up two students at a time to pick out one or two colored flashlights.  When they are ready they will step inside of the polygon I taped on the floor (yes we really do talk about what a polygon is).  Then I will say "Ready, Set, Go" when I say go they can start moving around for their picture.  When their picture is over I will say something like, "Let's check it out" or "Lets see what it looks like".  The picture is then projected through our projector on the board!  I go on to explain that they will get another turn right away so stay where they are.  I want the students to go twice in a row because they learn SO MUCH from that first picture, that I want to give them a chance to try it again once they get the hang of it.  At this point I break and ask if there are questions - there are generally very few.


Then last, but not least, I ask the class if I have only two kids doing the light graffiti what is everyone else busy doing?!  "Watching" they all say.  I really stress that they need to ACTIVELY watch - as they will learn from each other.  It is safe to say that 99% of my students had never done this before and if they watch each other they get ideas and start to build off of other students movements.  It is really very fascinating.  

Again, I ask for questions - if none we get moving!

Here is a video of some kiddos making their first light graffiti:


Enjoy!  This is a blast at the end of the year!

5.18.2012

End of the Year Lessons -- Whole School

The end of the year is a tricky time to teach -- the kids are antsy, my patience is generally smaller, it's SO nice out, and the kids miss random classes due to field trips and other events.

I design my last month of classes to highly engaging lessons that lean towards 'fun' while still having an educational component.  This way if I miss a class because they are on a field trip - I don't have to go back and teach the lesson they missed.  I also don't have a stack of papers at the end of the year for a student that missed the last week of school.

4/5 Weeks before End:
Clean out projects.  I spend this time passing back everything that I can find.  This year students 'doodled with Jim Henson' - we talked about how truly awesome Jim Henson is and how he 'doodled' all of his puppets/muppets.  The students then spent time creating their own characters -- students actually loved this more than I expected.  They really got into sharing their creations with people around them.  While they were busy 'doodling' I pass back any and all projects that got stored, put on display, mixed up in other classes.
 
3/4 Weeks before the End:
Origami Paper Airplanes.  Students ask all year to make paper airplanes - so we spend a day devoted to making them.
The rules:
- 3 papers total
- Decorate papers (keeps the kids honest about who's plane is who's)
- Grounded when indoors.
We spend class making airplanes based on prior knowledge and instructions.  We clean up early and either fly them in the room or, better yet, outdoors.


3/2  Weeks before the end: Light Graffiti.  I black out all the windows with black paper, find a tripod, digital SLR, cables to hook up to the tv and lots of flashlights/light emitting objects.  The first time we do this - students just experiment.  My lesson and links are here.

2/1 Weeks before the End:
Light Graffiti again.  This time I have paper with simple objects on them and groups make pictures.  Read here.

If we have one more week left we play art games, clean the room, art videos - generally I have some options and let the kids vote on what they would like to do.  The last week of school I rarely see every class - so it's kind of a relax week.


5.19.2011

Light Graffiti - Sample of Day 2 - K-4th grade students

Here is a sample of the light graffiti done by my students on Day 2 of the cycle!

Want to see more?!  Click here!


1st Grade


4rh Grade


2nd Grade

4th Grade (looks like a bike going fast over grass to me)


4th Grade with a little bit of direction.

1st Grade

Kindergarten (see the heart in the middle - happy mistake)

2.08.2011

Whole School - Light Graffiti

I originally explored light graffiti with my middle school students.  After working with only elementary students for a year, I thought I'd give it a shot - see what they could do with some flashlights in a dark room.

I started out by scouring the internet for videos explaining light graffiti.  I used these with my students:   Talk Talk TV Commercial using Light Graffiti  and  Light Graffiti Tutorial.

Next I used black paper to cover all the windows and doors in my room - make it nice a dark.  We had a bunch of flashlights we used for the musical earlier in the year, so I borrowed those from the music teacher.  I then contacted a local theatre and asked to have their theatre gel scraps (thin plastic they use to color lights in the theatre).  I gelled a bunch of flashlights for different colors.  Last, but not least I checked out a digital camera from the computer lab - set the correct aperture on manual setting (by trial and error).  I hooked up the camera to the TV in my room so that the students would get immediate feedback.

The students and I watched the videos - then we gathered around the open space in the room - I had students in pairs pick out flashlights and move around in front of the camera.  Each pair of students got two turns.  The first picture they see immediately on the TV - they can actually see what they drew.  The second turn is almost always better - the learning curve.  The students not only learned by doing, but by watching each other.  One class a student moved up towards the camera and then back - creating something the class hadn't seen - after that the students were much more curious and adventurous.

We did light graffiti for two cycles.  The second time the students came we tried to make pictures.  I had slips of paper with words like:  cloud, tree, house, mountain, sun.  Each student was in charge of making that object.  In a group they had to plan out their picture.  We drew them on white boards, practiced in the air and then did them for the camera.  Some were more successful than others - but they enjoyed trying.

All these light graffiti pictures were made solely by K-4 grade students!

4.30.2008

Light Graffiti 6,7,8


Many of my students think art is just painting and drawing -- so I decided to branch out from typical mediums and introduce light graffiti.


Light graffiti is very popular in larger cities, as it is a way to 'graffiti' without defacing any property -- so everyone really wins. This form of art is also popular in our everyday culture as one of the cell phone companies use a set of still light graffiti photos to make their 'stop action' commercials. (These are the commercials of the garbage trucks having arms and legs, or sending hearts in the air to the person they are texting.....)


Students Learn/Practice:

--Brainstorming

--Cause/Effect

--Critical Thinking

--Problem Solving

--Team Work

--Being Flexible

--Communication


These are done in our school store -- as it was the only room that was large enough and dark enough. In one corner is the camera on a tripod and set on a manual setting where the shutter remains open for about 10-15 seconds. Infront of the camera are the students with their flashlights.


The students looked at examples of light graffiti and planned out their own -- they tried their idea a few times and then made changes as they saw fit. Often times they found their designs were far too complicated for their first time painting with light. They found much success in purely moving the flashlights around in the air to make shapes -- everyone succeeded at this project!